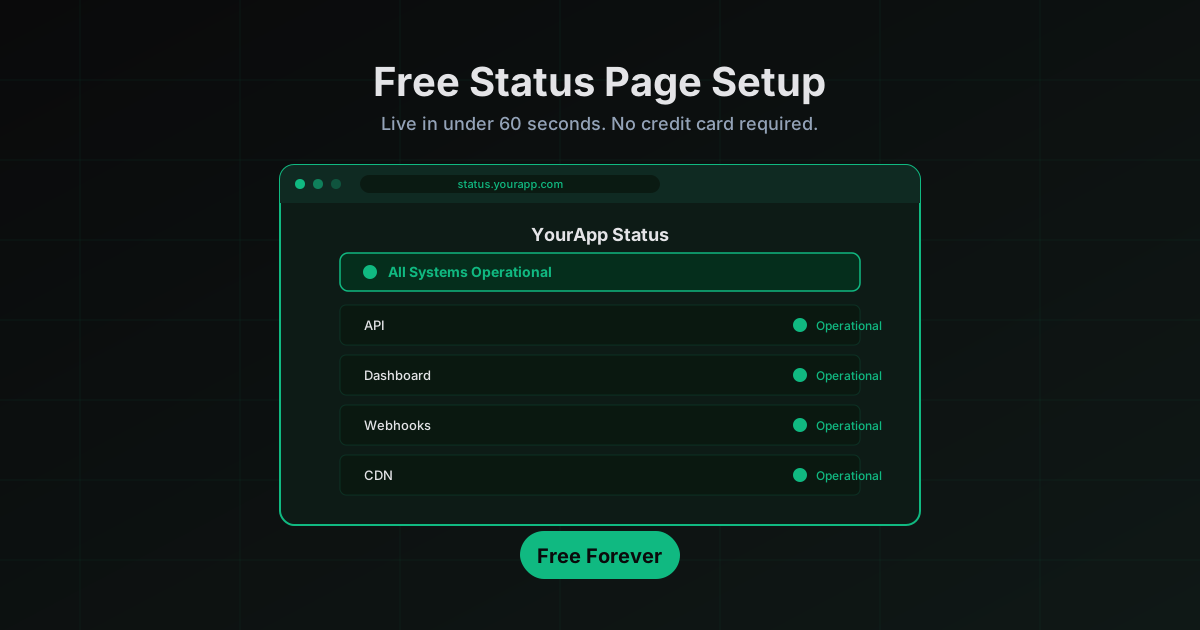
How to Set Up a Free Status Page in 5 Minutes
Create a free status page with uptime monitoring in under 5 minutes. Step-by-step guide to setting up LiveStatus for your app or API.
If you run any kind of web service, API, or SaaS product, you need a free status page. Not eventually. Now. The good news is it takes about five minutes to set one up with LiveStatus, and you don't need a credit card or a DevOps degree to do it.
This post is a step-by-step tutorial. By the end, you'll have a public status page with uptime monitoring, and your users will be able to check service health without pinging your support team. Let's go.
Why you need a status page
When something breaks, your users have two options: check your status page or open a support ticket. Without a status page, every single person affected by an outage becomes a support ticket. If you have 500 users and your API goes down for 20 minutes, you can expect 30 to 80 "is this down?" emails. That's not a scaling strategy.
A status page solves this by giving users a single place to see what's happening. Is the API healthy? Is there a known issue? When did it start? When do you expect it to be fixed? These are simple questions, and a status page answers them without your team having to say the same thing over and over.
There's also a trust angle. Companies that operate a public status page signal transparency. When a prospect evaluates your product, seeing a status page with 99.95% uptime over the last 90 days tells them you take reliability seriously. Not having one tells them you either don't track it or don't want them to know.
The bottom line: a status page reduces support load, builds trust with customers, and gives your team a single source of truth during incidents. If you've been putting it off because it seemed complicated, the rest of this post will fix that.
Step 1: Create your LiveStatus account
Head to livestatus.dev/signup and create your account. It takes about 20 seconds. Enter your email, set a password, and you're in. No credit card required, no trial countdown, no "talk to sales" gate. The free tier is a real product, not a bait-and-switch.
Once you're logged in, you'll land on the dashboard. This is where you manage your status pages, services, incidents, and monitoring. If you've used any project management or DevOps tool before, the layout will feel familiar.
Step 2: Create your first status page
Click Create page from the dashboard. You'll need to fill in three things:
- Page name -- this is what your users see at the top. Something like "Acme Status" or "MyApp Service Status" works well.
- Slug -- this becomes your public URL. If you pick
acme, your page lives atlivestatus.dev/acme. Keep it short and recognizable. - Visibility -- pages are public by default, which is what you want for a customer-facing status page.
Hit save, and your page is live. Yes, it's that fast. It's empty right now, but we'll fix that in the next step.
Step 3: Add your services
A status page without services is just a blank page with your logo on it. Head into your new page and click Add service. Each service represents something your users depend on: your web app, your API, your database, your CDN, your webhook delivery pipeline, whatever.
Here's a sensible starting list for most SaaS products:
- Website -- your marketing site or main application
- API -- your REST or GraphQL endpoints
- Dashboard -- the admin interface your customers log into
- Webhooks -- if you send event notifications to customers
- Database -- optional, but useful for internal status pages
You can always add or remove services later. Don't overthink it. Start with the three or four things your users would actually ask about during an outage, and expand from there.
Each service gets a status: Operational, Degraded Performance, Partial Outage, or Major Outage. By default everything starts as Operational. You can update the status manually at any time, or let the uptime monitoring (next step) handle it automatically.
Step 4: Set up uptime monitoring
This is where LiveStatus separates from "just a status page" and becomes an actual monitoring tool. Go to Monitoring in your dashboard and click Add monitor.
Paste in the URL you want to check. We'll ping it every 60 seconds from multiple regions and track the response. If a check fails, we'll automatically update the service status on your page and send you an alert. When it recovers, we flip it back to Operational.
For each monitor, you can configure:
- Check interval -- how often we ping the endpoint (60 seconds on free, down to 30 seconds on paid tiers)
- Expected status code -- usually 200, but you might want 301 for a redirect endpoint
- Timeout -- how long to wait before marking a check as failed
- Alert channels -- where you want to be notified (email, push notification via the mobile app, or webhook)
Most people set up one monitor per service. If your API has a /health endpoint, point a monitor at it. If your website is a standard page, just monitor the root URL. You don't need to overthink the configuration. The defaults are sensible, and you can tune them later once you see real data.
After a few minutes of monitoring, your status page will start showing uptime percentages. This is the data that builds trust with your users over time.
Step 5: Share your status page
Your page is live the moment you create it. It's already accessible at livestatus.dev/your-slug. Now you need to make sure people actually find it.
Here are the places you should link to your status page:
- Your app's footer -- this is the most common placement. A simple "Status" link in the footer of your web app or marketing site.
- Your docs -- if you have developer documentation, add a link in the sidebar or header. Developers look for status pages when integrations break.
- Your support page -- link to it prominently so users check status before opening a ticket.
- Your API docs -- if you publish API documentation, include the status page URL.
You can also embed a status badge on your website or in your README. This gives visitors a quick visual indicator of system health without leaving your site.
The whole point of a status page is reducing the "is it down?" support volume. That only works if people know the page exists. Put the link everywhere your users might look when something feels broken.
Bonus: Custom domain
On the free tier, your status page lives at livestatus.dev/your-slug. That's perfectly functional, but if you want status.yourdomain.com, you can set that up on the Starter plan.
The setup takes about two minutes:
- Go to your page settings and click Custom domain.
- Enter your subdomain (e.g.,
status.yourdomain.com). - Add a CNAME record at your DNS provider pointing to
cname.livestatus.dev. - Wait for verification. Usually 2 to 10 minutes depending on your DNS TTL.
Once verified, your status page is accessible at your own domain with HTTPS handled automatically. Your users see your brand, not ours. Check the custom domain docs for the full walkthrough.
Bonus: Mobile app
One thing that sets LiveStatus apart from tools like Statuspage.io is our native mobile app. Install LiveStatus from the App Store and you get push notifications for every incident update, delivered to your phone in real time.
This matters because email alerts get buried. They end up in spam, in the Promotions tab, or they just sit unread while you're away from your desk. A push notification hits your lock screen immediately. When your vendor's API goes down at 9 PM on a Friday, you find out in seconds instead of hours.
Your end users can subscribe to your status page through the app too. They pick which services they care about and get notified only when those services have issues. No email signup forms, no inbox clutter, just a push notification when it matters.
What's next
Once your free status page is running and monitoring is active, there's a lot more you can do as your needs grow:
- Custom branding -- match your status page to your company's look and feel with custom colors, logos, and CSS (Starter plan and above).
- Team invites -- add your engineering and support team so anyone can post incident updates without sharing credentials.
- Incident templates -- create reusable templates for common incident types so updates go out faster and more consistently.
- API integrations -- use the LiveStatus API to create incidents programmatically from your CI/CD pipeline, alerting tools, or custom scripts.
- Subscriber notifications -- let your users subscribe to email or push updates for specific services.
You can explore all the plan options on the pricing page. The free tier is genuinely useful on its own. The paid tiers exist for teams that need custom domains, more monitors, SMS notifications, and advanced branding.
Create your free status page
You just read the whole tutorial, which means you now know more about how to create a status page than 90% of engineering teams that still don't have one. The setup is free, it takes five minutes, and the upside is fewer support tickets and more trust from your users.
Create your free status page at livestatus.dev/signup and have it running before your next standup.
More posts
The Best BetterStack Alternative in 2026: LiveStatus
Looking for a BetterStack or Statuspage alternative? LiveStatus gives you beautiful status pages and uptime monitoring without the enterprise price tag.
Why Every API Provider Needs a Status Page
API providers without a status page are leaving developer trust on the table. Here's what a proper API status page does, what it covers, and why it reduces your support load while your incidents are still in progress.
How a Status Page Cuts Support Tickets by 40%
The math behind how a status page reduces support ticket volume during incidents. Email subscribers, SMS alerts, proactive communication, and why the ROI shows up in your support metrics within the first incident.